
Discovering bed bugs in your home is frustrating, but professional treatment can eliminate them effectively—if your home is properly prepared. One of the biggest reasons bed bug treatments fail or require multiple follow-ups is because the space wasn’t prepped correctly beforehand.
Bed bugs are excellent at hiding in small, hard-to-reach places. A professional exterminator brings the tools and expertise to flush them out—but they also need access to every potential hiding spot. The more prepared your space is, the more effective and efficient the treatment will be.
In this guide, you’ll learn exactly how to prepare your home before a professional bed bug treatment, whether you’re getting a heat treatment, chemical application, or a combined approach.
Why Preparation Matters
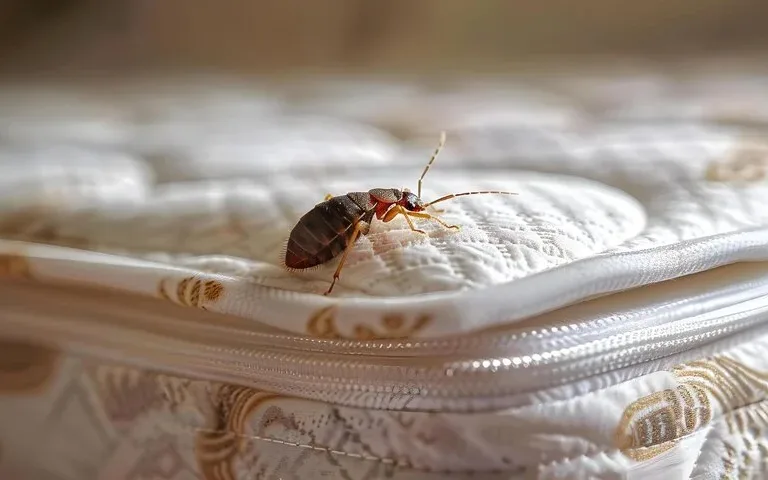
Bed bugs don’t just live in beds. They hide in baseboards, electrical outlets, furniture joints, books, picture frames, shoes, clothing—even electronics. Your pest control company needs clear access to these areas to perform a thorough and successful treatment.
Proper preparation:
- Increases the chances of total elimination
- Reduces the need for follow-up treatments
- Helps you return to normal life sooner
- Protects your personal belongings from damage
Now let’s look at what you need to do step-by-step.
Step 1: Declutter Every Room
Clutter gives bed bugs more places to hide. Before your treatment:
- Remove unnecessary items from floors, under beds, and furniture surfaces
- Bag loose items like toys, papers, or personal belongings in sealed plastic bags
- Do not move items into untreated areas, as this can spread the infestation
- Be cautious when handling infested items—bed bugs can travel on anything you move
Step 2: Wash and Heat-Treat All Fabrics
Bed bugs (and their eggs) can hide in clothing, bedding, curtains, and even stuffed animals. Everything washable should be cleaned before treatment:
- Wash on hot (120°F or higher)
- Dry on high heat for at least 30–40 minutes
- Immediately seal clean items in fresh plastic bags or containers
- Do not return clean items to infested areas until after treatment
Items to wash:
- Bedding and pillowcases
- Towels and washcloths
- Curtains or drapes
- Clothes from closets and drawers
- Pet bedding
- Soft toys or throw pillows
Step 3: Vacuum Thoroughly
Vacuuming before treatment helps remove live bugs, shed skins, eggs, and droppings. Focus on:
- Mattress seams and bed frames
- Carpets and rugs
- Baseboards and floor edges
- Upholstered furniture
- Cracks and corners of each room
After vacuuming:
- Seal the vacuum bag in a plastic bag and discard it in an outdoor trash bin
- Clean bagless canisters with hot, soapy water
This step should be repeated as close to the treatment date as possible.
Step 4: Disassemble and Move Furniture
To ensure technicians can access all hiding places:
- Pull beds, sofas, and dressers 6–12 inches away from walls
- Stand mattresses and box springs on edge if instructed
- Remove drawers from dressers and nightstands
- Empty bookshelves, closets, and under-bed storage
This allows heat or insecticides to reach into cracks, joints, and wall gaps where bed bugs often hide.
Step 5: Protect Heat-Sensitive Items (For Heat Treatment Only)
If your treatment includes heat, you’ll need to remove or protect items that can be damaged by high temperatures (above 120°F). These may include:
- Aerosol cans or pressurized containers
- Candles, cosmetics, or wax-based items
- Vinyl records or CDs
- Certain electronics (check with your technician)
- Fresh food or medicine
- Plants and pets
Place these items in a sealed container and move them to a designated safe area or outside the home, as advised.
Step 6: Plan for Your Absence
Whether you’re getting chemical or heat treatment, you’ll typically need to vacate your home during and shortly after the service:
- Heat treatments usually require you to be out of the home for 6–8 hours
- Chemical treatments often require 4–6 hours before reentry
- Pets must be removed, including birds and fish (cover fish tanks and turn off filters if necessary)
Your pest control provider will give you exact timing based on the method used.
After Treatment: What to Expect
Your pest control company will provide post-treatment instructions, which may include:
- Continued vacuuming for several weeks
- Keeping cleaned items sealed until follow-up visits
- Refraining from deep cleaning sprayed areas for a period
- Using mattress encasements to trap any remaining bugs and monitor for signs
A follow-up inspection is often scheduled 10–14 days after treatment to ensure full elimination and to re-treat if necessary.
Final Thoughts
Bed bug treatments work best when professionals and homeowners work together. By thoroughly preparing your home ahead of time, you give the exterminators a better chance to do their job effectively—and eliminate the infestation as quickly as possible.
If you’re overwhelmed or unsure where to start, ask your pest control provider for a detailed prep checklist. Most reputable companies (like Positive Pest Management) will be happy to guide you through every step.
Getting rid of bed bugs takes effort—but with the right preparation and professional support, your home can be bed bug-free again. We recommend Positive Pest Management.